freedombecki
Let's go swimmin'!
- Thread starter
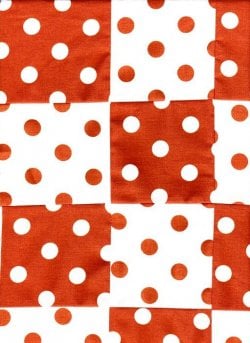
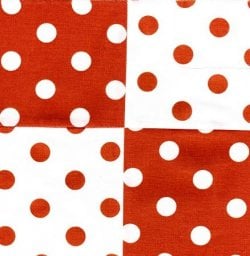
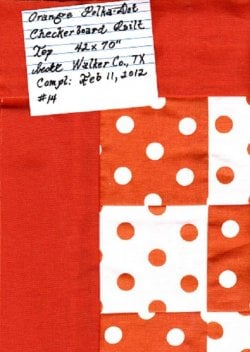
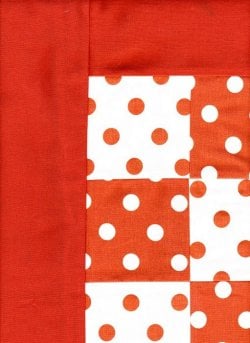
- #1,261
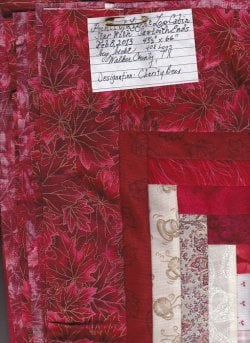
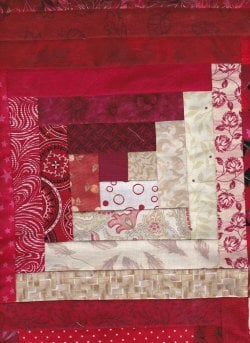
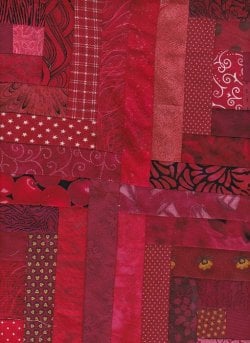
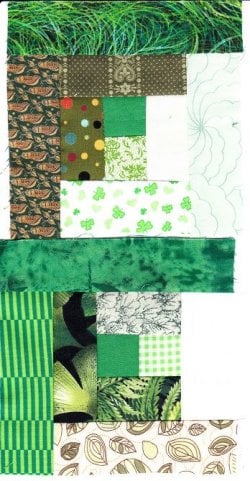
They'd sure be cute. Even so, I hope you load the information into your browser and see the alternatives you could use for making your son's pillow cases. It's great to have the internet to see what other people are doing so you can have a springboard for ideas.Ohmigosh! Those are great!!! I think we could throw one of those pillows together quickly!
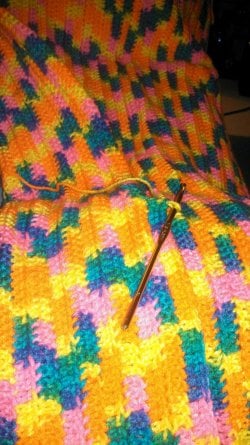
Today, I found a video on making crocheted crocodile lace. I bet Dabs could do that if she kept the video handy. She had that Hawt beautiful new colored crochet thread she was going to make a bedspread with. I bet she could make a scarf out of this technique:
[ame="http://youtu.be/RUNtrp_Vj4o"]Crocodile Stitch - How To Crochet - YouTube[/ame]

")