freedombecki
Let's go swimmin'!
- Thread starter
- #1,061
Follow along with the video below to see how to install our site as a web app on your home screen.
Note: This feature may not be available in some browsers.
")
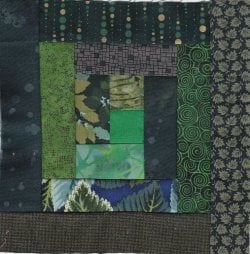
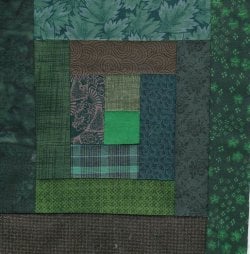
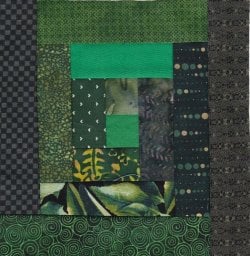
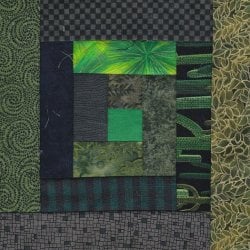
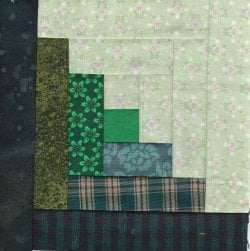
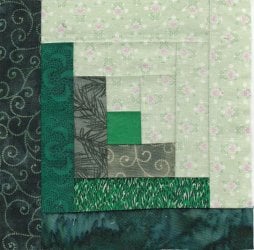
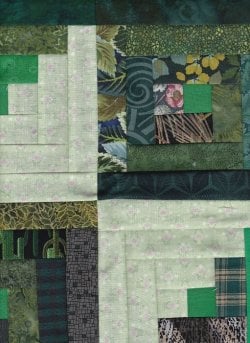
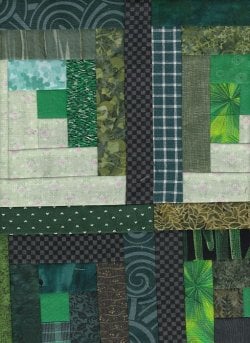
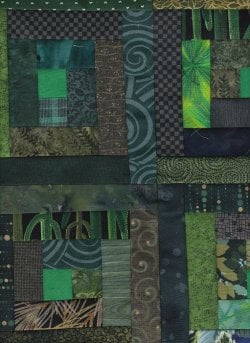
After living in the Equality State for 35 years, those colors are like home to me. In Laramie there is this school...


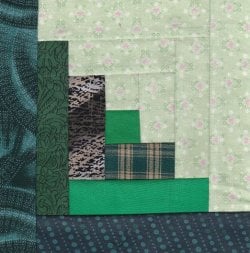
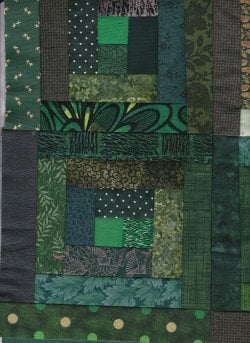
This one hopefully shows the center dark area okay.
After living in the Equality State for 35 years, those colors are like home to me. In Laramie there is this school...


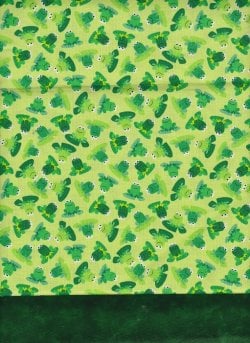
Oh, Koshergrl, isn't that just too darn cute! My sister has chickens in her kitchen. I oughta do something like that using my sewing machine, which has a stem stitch and a triple straight stitch, both of which look great with size thirty cotton DMC machine embroidery thread (and several others in recent years). I'm glad you followed up a start with a picture. Your mother will be thrilled if they're for her. In one of my books on victorian applique, I designed a Rhode Island Red rooster, which would look good in sewing machine blackwork. I may drag out my stuff and do that sometime soon!Got the chickens done:


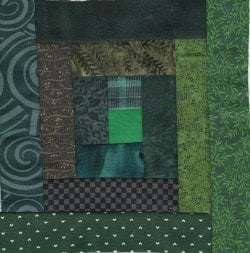
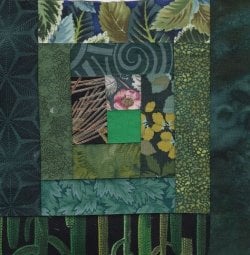
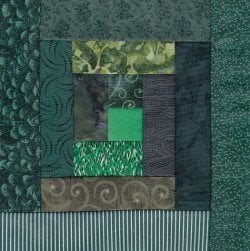
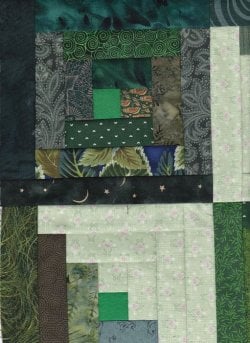
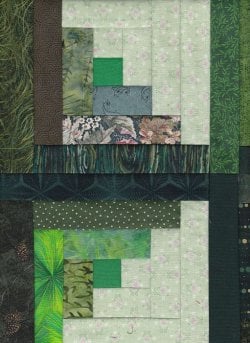
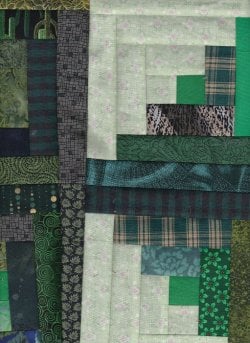
Well, what I didn't show last night was my lil mistakie. I sewed the 4th row on upside down. Before I hit the pillow last night, I had to rip and redo.This one hopefully shows the center dark area okay.
I would be drunk at the end of the day after doing something like that!

Oh, Koshergrl, isn't that just too darn cute! My sister has chickens in her kitchen. I oughta do something like that using my sewing machine, which has a stem stitch and a triple straight stitch, both of which look great with size thirty cotton DMC machine embroidery thread (and several others in recent years). I'm glad you followed up a start with a picture. Your mother will be thrilled if they're for her. In one of my books on victorian applique, I designed a Rhode Island Red rooster, which would look good in sewing machine blackwork. I may drag out my stuff and do that sometime soon!Got the chickens done:
I love your inspiring work and so glad you shared it.