freedombecki
Let's go swimmin'!
- Thread starter
- #781
Follow along with the video below to see how to install our site as a web app on your home screen.
Note: This feature may not be available in some browsers.


")

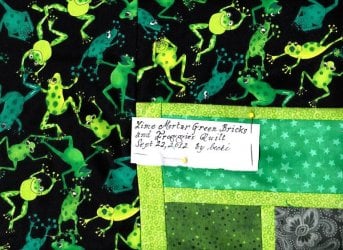
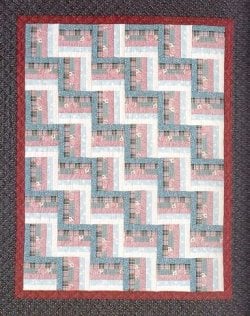
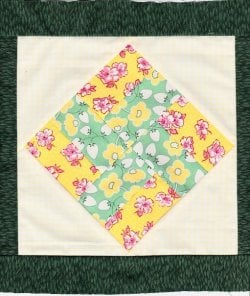
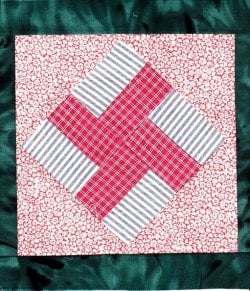
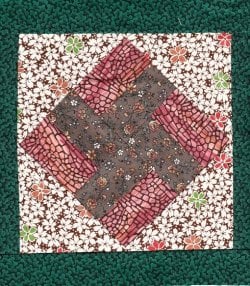
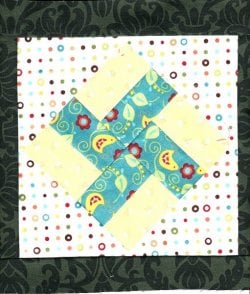
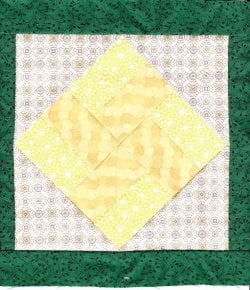
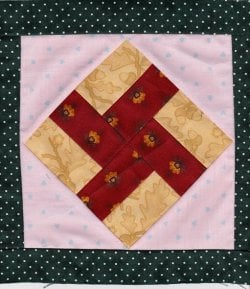
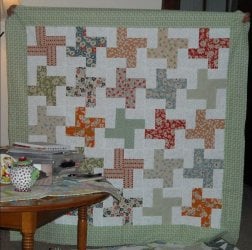
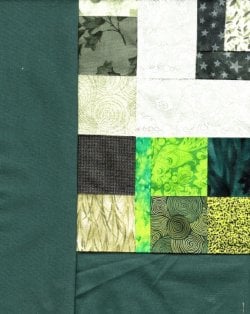
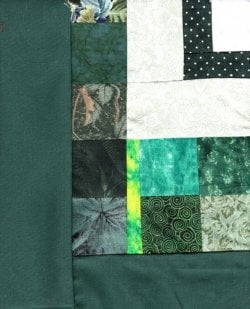
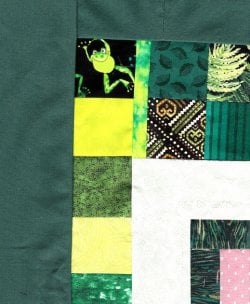
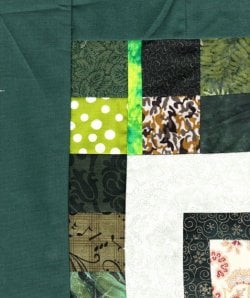
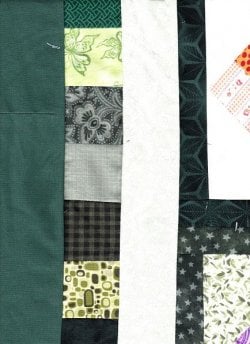
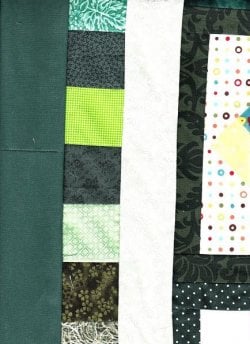
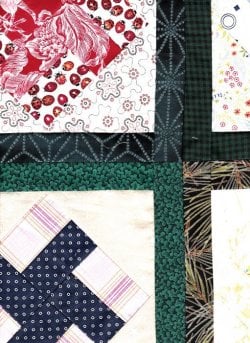
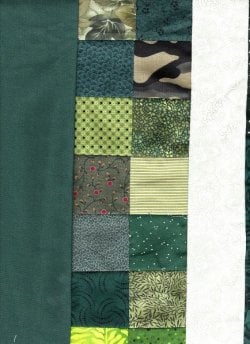
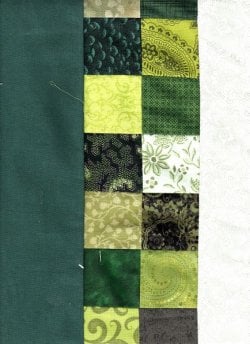
Rose Marie, after her big display last month, even toned it down a little. But here she is with her Propeller Quilt. She says shes going to finish it and use it in her kitchen, maybe as a table topper, because she says its nice kitchen colors. It IS nice kitchen colors. Im busting to make a quilt like this. Must . . . Resist . . . Urge . . .

Aw, thanks, copsnrobbers.The world needs more Becki's!
cops
Aw, thanks, copsnrobbers.The world needs more Becki's!
cops
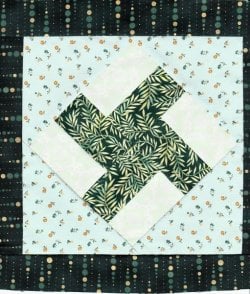
I'm soooooo done with The Green Sashed Propeller Quilt!