strollingbones
Diamond Member
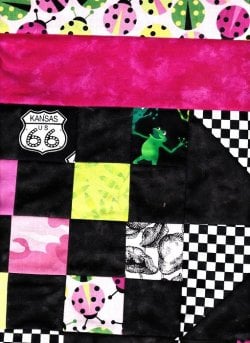
ladybugs are neat.....
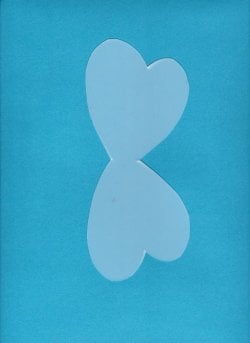
is the ladybug one for sale?
is the ladybug one for sale?
Follow along with the video below to see how to install our site as a web app on your home screen.
Note: This feature may not be available in some browsers.
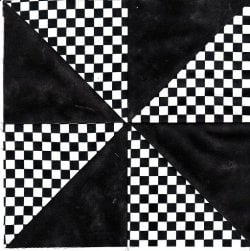
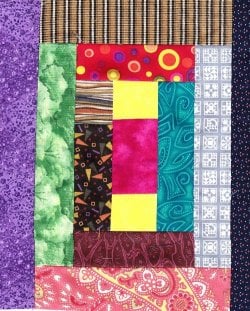
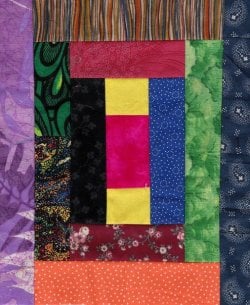
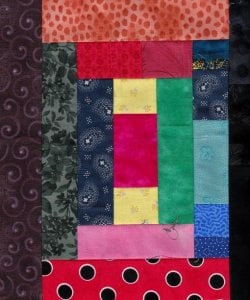
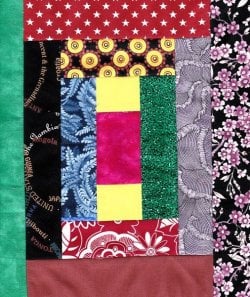
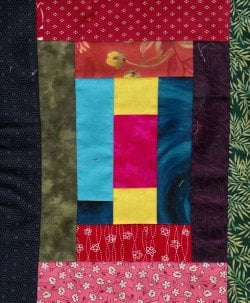
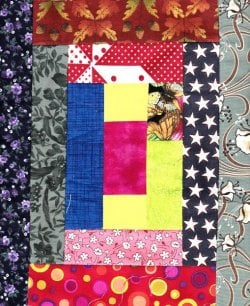
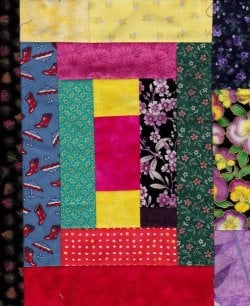
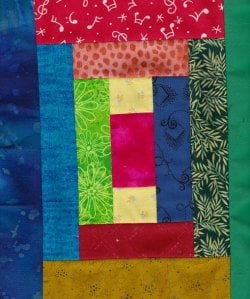
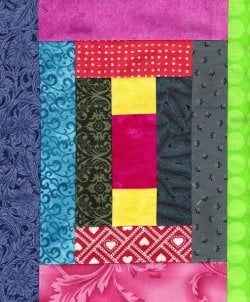
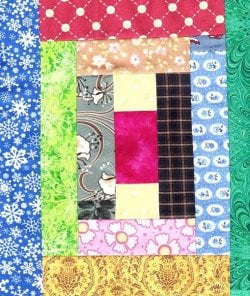
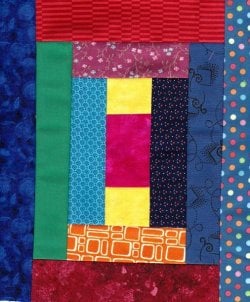
Qults have a way of hugging their recipients with the maker's love, whether they are done by little hand stitches or stitched on a home sewing machine. I'm starting this thread so you can enjoy sharing your quilts and see some of mine, some I found on ebay, etc. If you have a traditional pieced quilt and want to know the name of the pattern, post a picture here, and I'll use all my resources to tell you the name of the block or blocks that were used to make your quilt. Just say the word. Here's a Postage Stamp Quilt I made for a beloved friend's grandson:

")

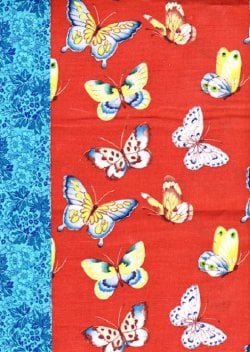
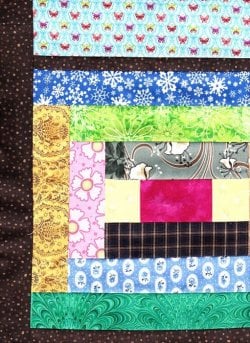
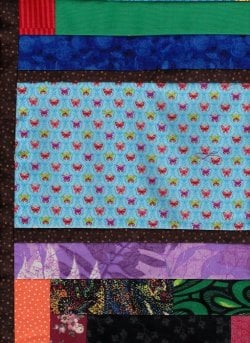
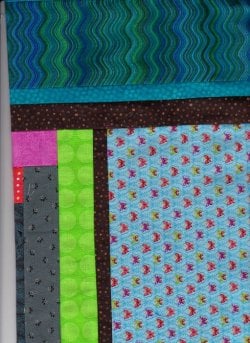
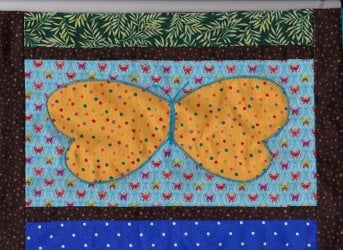
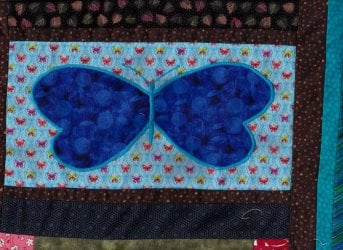
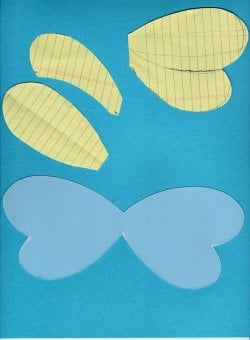
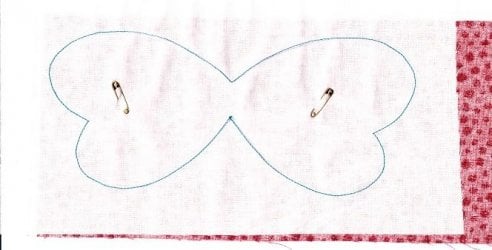
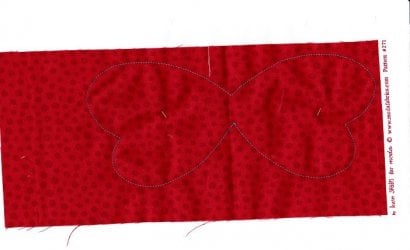
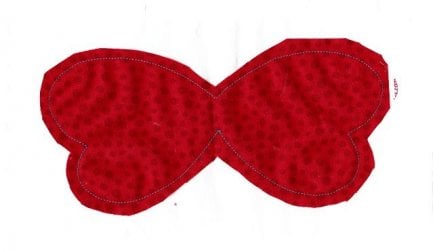
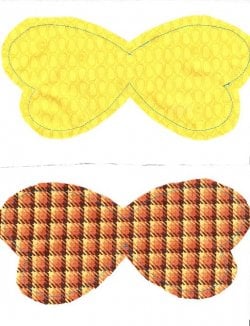
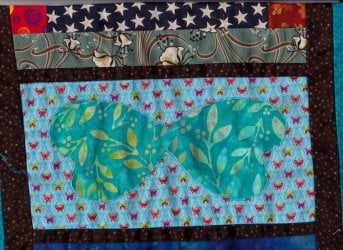
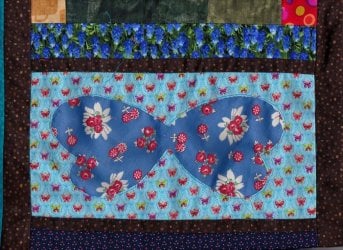
 on some turquoise fabric. I thought "blue light lanterns?" Oh, well! But first, I needed to set them off and thought maybe colonial lanterns could have been glass bordered with wood (doh, wood is flammable, of course that probably wasn't done...) Anyway, I did add brown 1/2" borders dutifully and blissfully placing tiny dark dotted brown calico at top and bottom of each "lantern," then just as dutifully made sure all the top wings were on top of the one-way fabric. I wasn't terribly thrilled with the effect the brown had on the somewhat hot colors in my pile (ok, I dug some more brights to add to the panoply on top of my kitchen table until yesterday) The brown did nothing to brighten the light turquoise background butterflies. Absolutely nothing, but I wasn't pulling off 24 strips, nosiree. So I thought, "Well, maybe the side borders should be a little wider, after all the strips are each 53" long (stretched to 55") So wider brown strips were cut and just as dutifully sewn to the sides. The brown really killed the joie de vivre I had seen in the 12 litle blocks earlier. Har de har har har. Well, it's ok. Some people like the subdued look I fibbed to myself.... but I set to kill the idea of putting brown log cabin strips between the lantern strips, which do not look like lanterns and do not look like the blue light special at K-Mart. At this point, I'm just going to show the scans I made before starting this tale o' woe:
Yes it can be, and your link shows a room I've been to before. Some years ago, we sold Pfaff sewing machines, and one year we had a dealer's convention in Nashville, TN, and I wanted to see the museum on quilts at Paducah, so my husband rented a car, and off we went. I loved every minute of it.Becki, I took my mom and my daughters to the National Quilt Museum this afternoon.
Absolutely stunning. It truly is an art form.